
So friends, everyone is interested in clicking their own photo and people do it too, but the camera quality of many people is poor or the quality of the picture is poor. And even if the picture quality is good, it will still look cheap unless you edit it, and for editing, you need an editing application. After that you need editing like how much color grading to do in the photo, how much saturation to keep, how much brightness to keep, but do you know that now you can edit the photo without knowing all this.You can edit photos, that too in one click. You heard it right, just like you make videos in Capcut in one click with the help of template, similarly now you can edit photos in one click with the help of presets. You can do that also in the Lightroom application.
Details Lightroom Presets DNG Photo Edit :-
Lightroom is a photo editing application Lightroom dng photo editing presets are helpful and handy for every editor as they reduce the amount of time in minutes. Because when you go to do color grading in it, you will have to choose many different colors, there will be different settings, different icons, but to get the preset given by me, you just have to click on the 3 dots. After doing this you have to click on the Copy preset option and after adding your photo you have to click on the 3 dots again and then click on paste setting, your photo is ready in one click because Because in the presets given by me everything will be done first like saturation, brightness, all color grading and face whitening everything. You can also use these presets for color grading your videos. DNG stands for ‘Digital Negative.’ Adobe developed this image file format.
What is Lightroom :-
Lightroom is a photo editing application and it is the best for editing photos and adding presets. Anyone from beginner to pro can use it and it is also used by big creators and YouTubers. And in this the photo gets edited in one click. Photo editing in one click with preset editing will do color grading in your photo in a perfect way and this app is the best in terms of color. And you will get every feature in this app and it is a very good app.
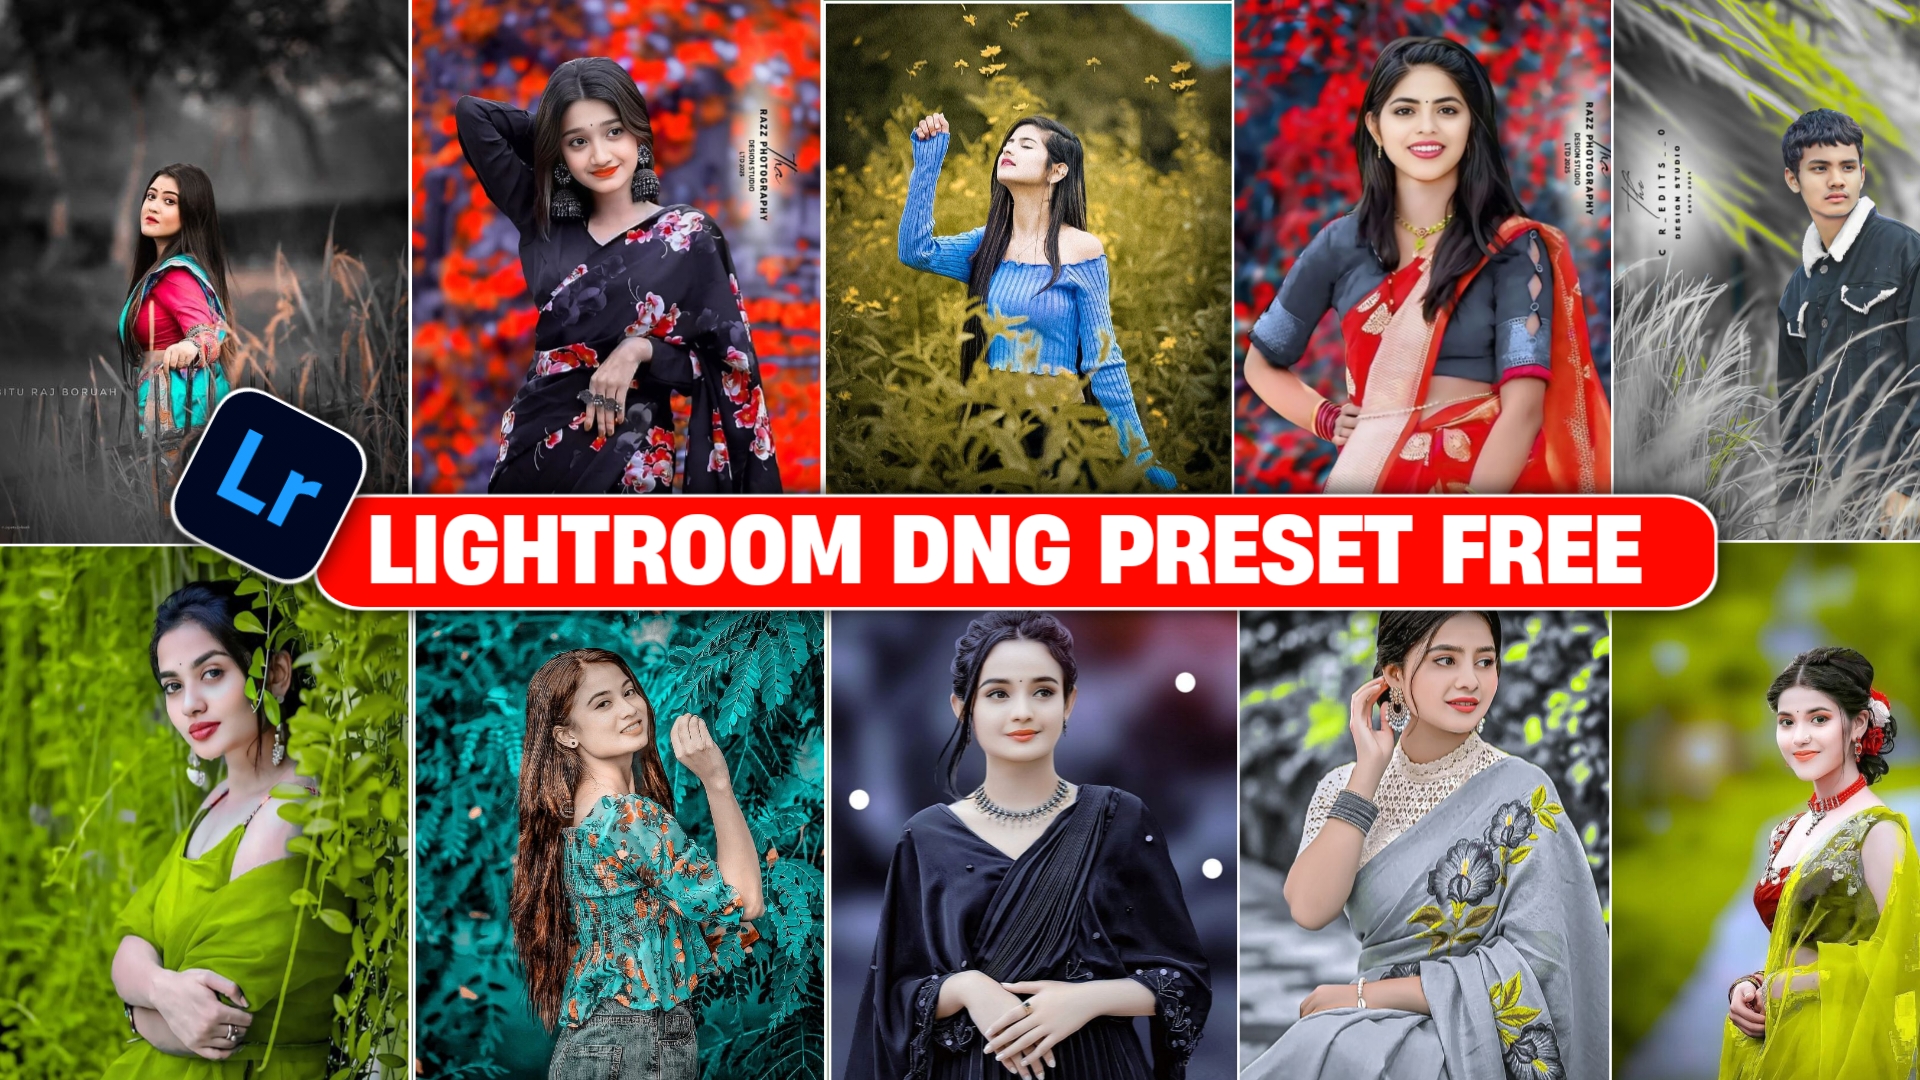
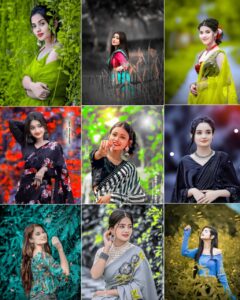
About Lightroom Presets:-
So I will give you 10 plus Lightroom preset dng file using which you will get many such presets like Biker Lightroom Preset, 16k Editing Preset, Nagpuri Preset, Santali Preset, Dual Color Preset, Face Smooth Preset etc. All these Lightroom presets are definitely used for any photo editing. If you have edited photos with Lightroom then you will know that there is a copy paste setting in Lightroom, when you copy the preset and see how good your photo has become in one click.
How to Download & Use Lightroom Dng Presets:-
So I will give you the link of 10 preset dng files of Lightroom in this post, you will see a button of red color.You have to click on it, as soon as you click, Google Drive will open in front of you, whichever preset you like, you have to download it by clicking on the 3 dots. Now I am telling you some steps below, you follow them.
- First Of All Tap On Red colour button
- It will open in the drive, you have to click on the preset you like
- Now you have to click on the 3 lines above and click on the send option and send it to the Lightroom app
- The preset will be added to the Lightroom app
- Now you have to do coffee preset setting by clicking on the three lines
- Now you have to go to your photo and click on the 3 lines and paste it
How to Make Your Photo HD Using the Lr App:-
In the Lightroom app, you can do different color grading of any of your photos in 4K HD quality, like red orange, and some such tools have also been given in it, using which you can Blur the background of your photo, add shadows to the sides of the photo and you can even make your face smooth and fair with color grading in your photo.I will tell you which tool it is in the details below and you will follow the steps given.
Details Tools :- In Lightroom, the Detail Tool gives you some really useful options like Sharpening, Noise Reduction, and Colour Noise Reduction. If you use them properly, you can make your photo look much cleaner, sharper, and almost HD quality.
Sharpening:- helps to bring out the fine details in your photo and makes the edges look crisper.
Colour Noise Reduction:- comes in handy when you notice weird colored dots or patches (like red, green, or blue specks) in your photo. It balances those out and makes the image look more natural
Effect Tools:- In the Effect Tool, you will come across three main options: Texture, Clarity, and Dehaze. By adjusting these tools properly, you can enhance your photo quality, make it look more HD, and also give the background an HDR-like effect.
Curves Tool:- Now Keep the Curve tool at Medium contrast. This enhances highlights and shadows, giving an HD feel.
Conclusion:-
So friends, in this post, I have explained everything: how to find the link for the DNG preset file, how to use the Lightroom app, how to download the preset, and everything else. If you have read this article carefully—right through to the very end—you, too, will be able to create a Lightroom photo just like this one. However, if you haven’t read it properly and skipped a section, you won’t be able to utilize this Lightroom preset. You will undoubtedly encounter difficulties; but if, even after reading my article carefully, you are still unable to create the Lightroom photo, please go back and read the article again with even greater attention.