
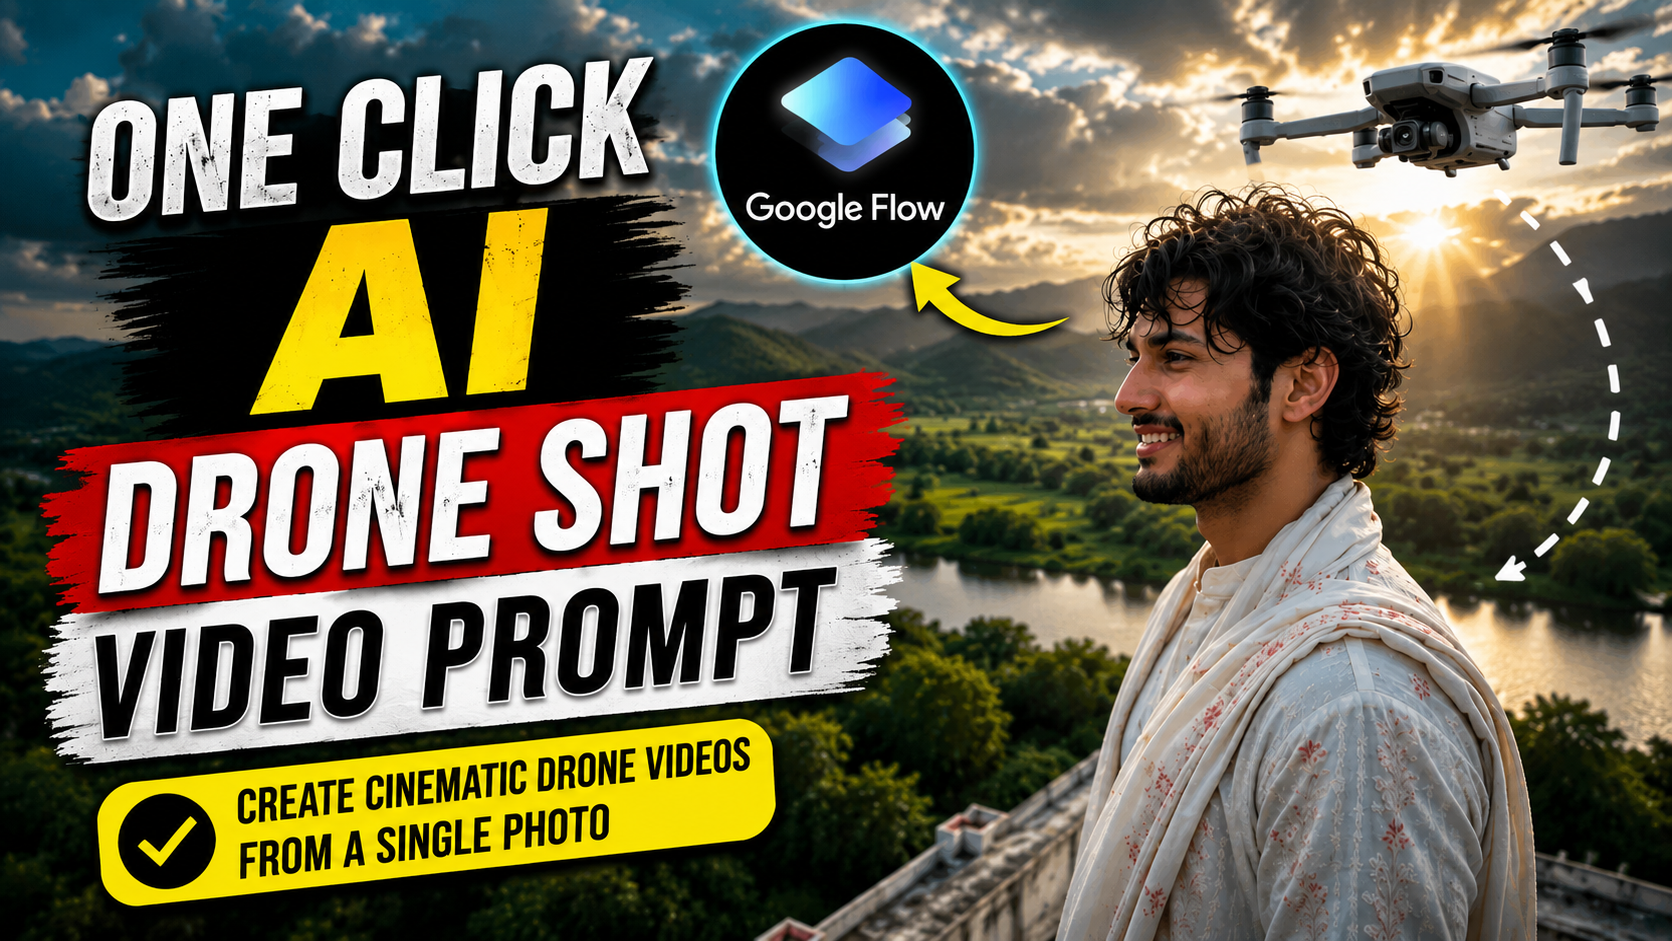
Introduction
Have you ever watched a beautiful drone video on Instagram or YouTube and thought that creating something like this must be difficult? A few years ago, you needed a real drone, a good camera, and video editing skills. Today, AI has changed everything.
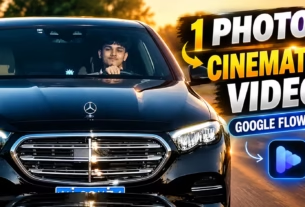
Now you can create a stunning drone-style video from a single photo in just a few minutes. I created my own AI drone shot video using Google Flow by simply uploading a photo and entering a video prompt. The result looked smooth, cinematic, and surprisingly realistic.
In this guide, I will explain the complete process in simple English so that anyone can follow it.
What Is an AI Drone Shot Video?
An AI drone shot video is a video where artificial intelligence creates realistic camera movement from a still image. The camera may slowly move upward, backward, or around the subject, making it look like the video was recorded with a real drone.
The best part is that no drone is needed. AI generates the motion based on your photo and the prompt you provide. This makes the process simple, fast, and affordable for everyone.
These AI videos are becoming more popular because they save both time and money. Anyone can create professional-looking drone shots without buying expensive equipment or learning advanced video editing. With the right image and a well-written prompt, even beginners can create impressive cinematic videos in just a few minutes.
Why AI Drone Shot Videos Are So Popular
AI drone shot videos have become very popular because they look professional and are easy to create. Many content creators use them for Instagram Reels, YouTube Shorts, TikTok, and other social media platforms to grab more attention. These videos give a cinematic look without using a real drone or expensive camera equipment. With the help of AI, anyone can turn a single photo into an eye-catching video within a few minutes. This makes the process simple, fast, and beginner-friendly. As AI technology continues to improve, more people are choosing this method to create high-quality videos for personal and professional use.
What You Need
Before you start, make sure you have a clear and high-quality photo, access to Google Flow, and a stable internet connection. These are the basic things you need to create an AI drone shot video. Once everything is ready, you can upload your photo and start the video generation process.
Video Prompt ⬇️
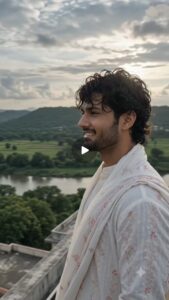
 Use the attached image as the first frame and preserve every detail exactly as shown. The red waypoint line defines only the drone camera flight path, and the white arrows define only the camera viewing direction. These guides are for motion planning only and must be completely removed before the animation starts. They must never appear in any frame.
The drone itself must never be visible. Treat the drone only as an invisible virtual camera. Do not render any drone, propellers, shadows, reflections, or parts of the aircraft at any time.
Create a single continuous first-person aerial drone camera shot that follows the exact red waypoint trajectory with smooth curves, realistic acceleration, natural deceleration, subtle cinematic banking, and authentic drone stabilization. While flying, continuously orient the camera according to the white directional arrows so the subject remains naturally framed throughout the shot.
Maintain a constant realistic altitude unless the waypoint path clearly requires a gradual height adjustment. Avoid sudden yaw, pitch, or roll changes. Camera motion should feel like footage captured by a professional DJI drone with a 3-axis stabilized gimbal.
Preserve the original environment exactly as it appears. Do not alter the subject, buildings, trees, roads, lighting, weather, colors, textures, or composition. Add only natural camera motion with realistic parallax, depth, and perspective shifts.
Generate ultra-photorealistic 4K HDR footage at 24 fps with cinematic motion blur, realistic lens characteristics, natural exposure adaptation, and subtle wind response.
No cuts, no transitions, no teleports, no scene regeneration, no object deformation, no hallucinated elements, no flicker, no warping, no floating artifacts, no extra people or vehicles, no text, no logos, no watermarks, no arrows, no guide lines, and absolutely no visible drone in any frame.
The final result must look indistinguishable from real aerial footage captured by an invisible professional drone camera.
How To Create Ai Drone Shot Video
Below I am telling you some steps to make a drone shot video, by following which you will be able to make your video easily. So read the given steps carefully and make your own cinematic drone shot video.
- First of all you have to open Google Flow and login to it.
- After that you have to select a new project and upload the photo by clicking on the plus icon.
- Now you have to come back to the website and copy the prompt given below the video.
- Now go to Google Flow and edit the uploaded photo. Mark the area you want a drone shot of with a doodle.
- After that, paste the copied prompt and select Omini Flash in the video option and click on send.
- Now Flow AI will start making your video, you just wait a little.
- As soon as the video is ready, you have to download it by clicking on the arrow above.
Tips for Better Results
If you want your AI drone shot video to look more realistic and cinematic, always start with a high-quality photo. A clear image with good lighting helps the AI understand details better and creates smoother camera movement. Keep your prompt simple, clear, and specific instead of adding too many instructions at once. If the first result is not perfect, do not worry. Try changing a few words in your prompt and generate the video again. Testing different prompts often gives better results. Also, avoid blurry or low-resolution photos because they can reduce the overall quality of the final video. With a little practice and experimentation, you can create professional-looking AI drone videos easily.
FAQ
1. Can I create a drone shot video from one photo?
Yes. AI tools can generate realistic drone-style camera movement from a single image.
2. Which tool did you use?
I used Google Flow by uploading a photo and entering a video prompt.
3. Do I need video editing skills?
No. The process is simple and beginner-friendly.
4. Does photo quality matter?
Yes. High-quality photos usually produce better AI videos.
5. Can I use these videos on social media?
Yes. You can upload them to Instagram Reels, YouTube Shorts, TikTok, and other platforms.
6. Why does my video not look realistic?
The most common reasons are a low-quality photo or a weak prompt.
7. Can I create different camera angles?
Yes. You can describe different camera movements such as drone shots, orbit shots, zoom effects, or cinematic fly-away shots in your prompt.
Conclusion
Creating a stunning AI drone shot video from a single photo is now easier than ever. With Google Flow, a high-quality image, and a well-written prompt, anyone can create realistic and cinematic videos in just a few minutes. You do not need a real drone or professional editing skills to get impressive results. Simply follow the steps shared in this guide, experiment with different prompts, and keep improving your videos with practice. The more you test and learn, the better your results will become. If you are looking for an easy way to create eye-catching AI videos for social media, this method is definitely worth trying.
Use the attached image as the starting frame. The red line represents the drone flight waypoints and trajectory only, while the white arrows represent the camera viewing direction only. These are production guides, not scene elements, and must never appear in the final animation. Remove all guides before the animation begins and reveal the clean underlying image. Create a single continuous aerial drone POV that flies along the exact path defined by the red waypoint line, matching its route, curves, movement direction, and endpoint as closely as possible. Throughout the entire flight, orient the camera according to the white directional arrows, ensuring the drone follows the red path while the camera continuously looks where the white arrows indicate, naturally keeping the subject framed at all times. The drone trajectory and camera orientation are the highest-priority instructions and must be followed exactly, even when the movement path and viewing direction differ. Use smooth, cinematic drone motion with realistic inertia, gentle banking, and natural acceleration and deceleration, with no cuts, teleports, or sudden camera swings. Preserve the original scene exactly as shown without modifying the environment, lighting, subject, composition, or any objects. The only change should be the realistic drone movement following the red waypoint path while the camera continuously follows the white viewing directions. Produce clean, photorealistic footage with no visible guides, annotations, arrows, lines, overlays, graphics, text, or watermarks in any frame.
Ytrewq
Hhh
Mmm
Ppp
Ooo
Iii
Ai video drone camera 📸📸